
Follow Me On Social Media!

Homemade Bread: The Best Recipe for Perfectly Fluffy Loaves
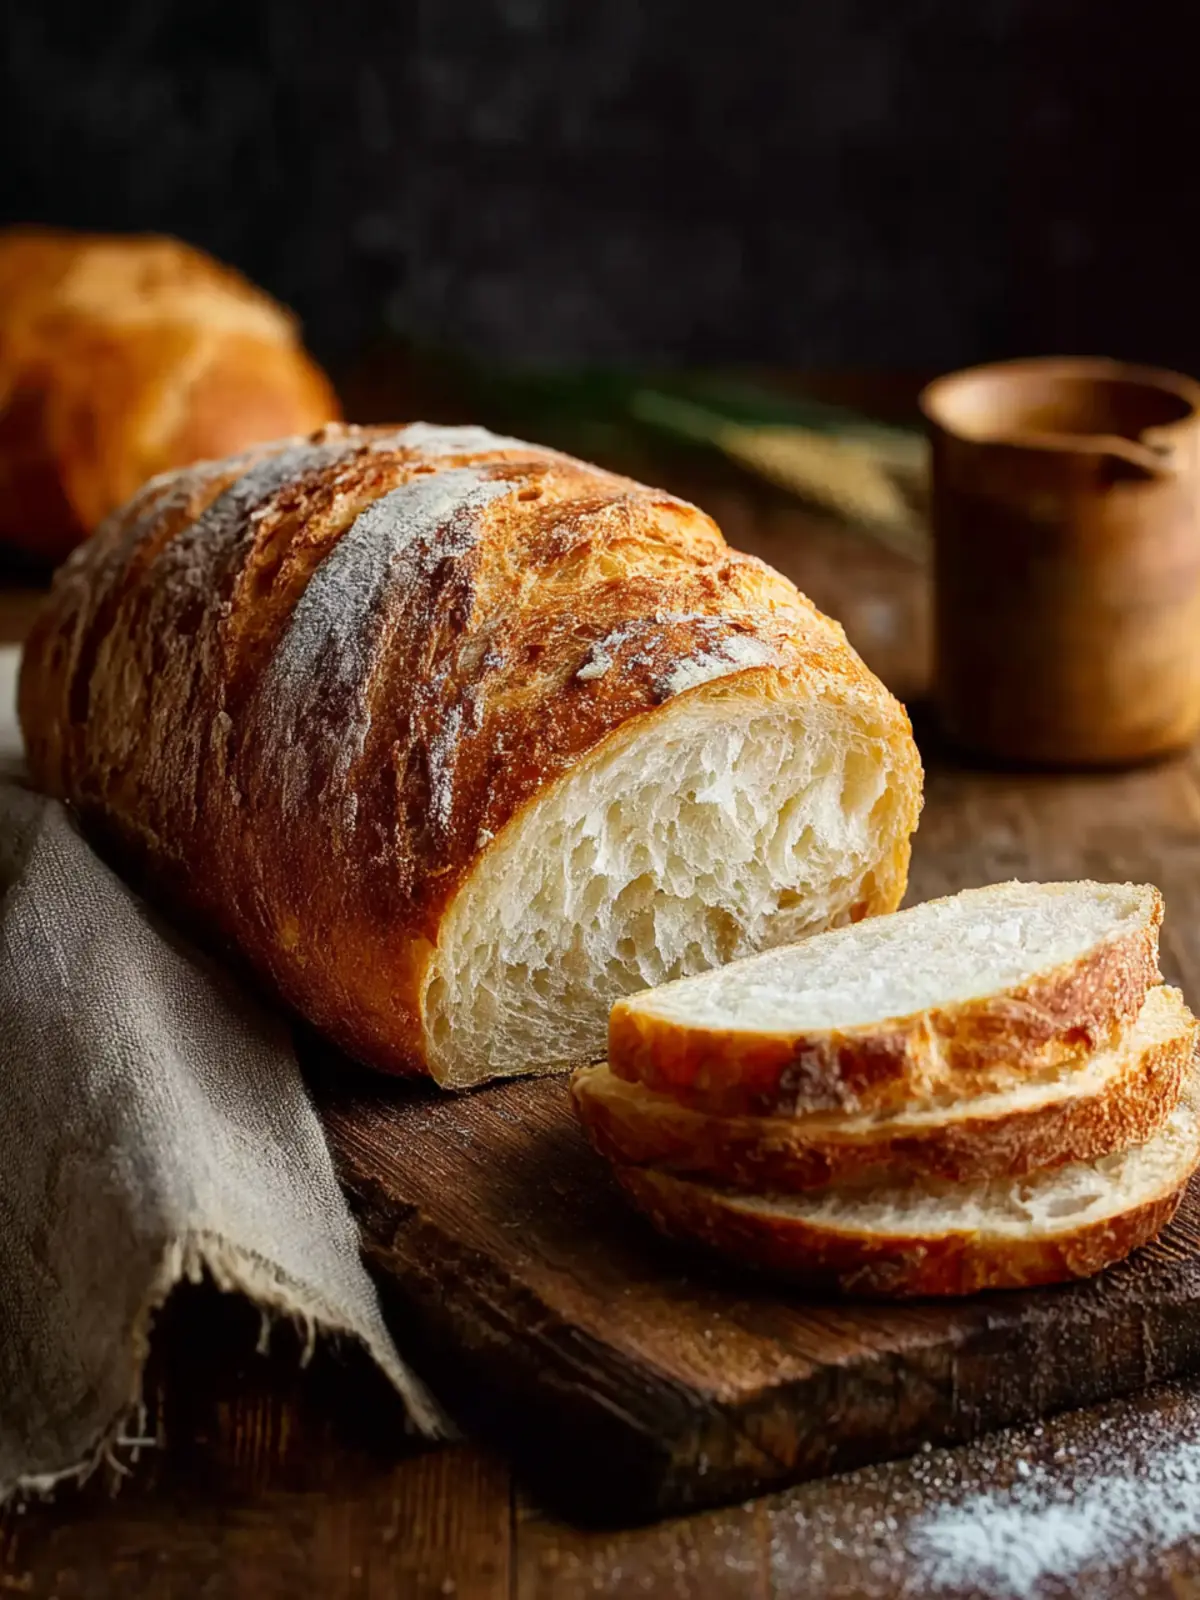
Introduction to Homemade Bread
There’s something undeniably magical about the process of making homemade bread. Picture it: wafts of warm, yeasty aromas fill your kitchen as you knead dough, creating something that transforms simple ingredients into a comforting staple. Baking bread at home is not just about the final product; it’s about the experience, the creativity, and the connection to a long-standing tradition.
The Joy of Baking Your Own Bread
Creating homemade bread is a delightful journey that can awaken your senses and invigorate your spirit. When was the last time you got lost in a kitchen project that filled you with anticipation? As you mix flour, water, and yeast, you’ll start to feel like an artisan in your own right—tackling each step with purpose and care. It’s a beautiful reminder of how simple ingredients can lead to remarkable results.
Think about the satisfaction of slicing through a crusty loaf, the sound of the knife against the bread, and the first taste of that warm, flaky goodness. There’s an intrinsic joy in knowing you crafted it all yourself, from start to finish. Each loaf is not just a means of sustenance but a reflection of your personal touch, whether that’s adding herbs, seeds, or even variations of flour.
Maybe you’ve been drawn to baking out of necessity during busy weekdays, or perhaps you’re looking for a creative outlet to unwind after a long day. Whatever your motivation, this homemade bread recipe will simplify the process for you while allowing room for your own flourishes. In this article, we’ll not only guide you through the essential steps but also provide helpful tips and tricks to ensure you achieve a perfect loaf every time.
As we go through the ingredients and instructions, let your imagination take flight. Picture hosting a gathering with friends, where the centerpiece is a freshly baked loaf of bread, and the conversation flows as freely as the melted butter. By the end, you’ll understand why so many people cherish this delicious skill, which connects generations and cultures through the art of baking. Let’s dive into the delightful profile of ingredients that make up your journey in creating homemade bread!
Key Ingredients for Homemade Bread
Fluffy, warm homemade bread fresh out of the oven can transform any meal into a cozy experience. To achieve that perfect loaf, it’s essential to understand the basic ingredients that come together in harmony.
Flour: All-purpose flour is my go-to for creating a chewy, yet tender texture. If you’re feeling adventurous, whole wheat flour can add a nutty flavor, but it might require some adjustments to hydration levels.
Water: Warm water (about 110°F) activates the yeast effectively. This is crucial for the perfect rise, ensuring your bread is light and airy.
Yeast: I always use active dry yeast or instant yeast for consistent results. It’s what brings the bread to life, creating those delightful air pockets.
Salt: Not just for flavor, salt also strengthens the dough and controls fermentation. It’s a small amount but makes a big difference!
Sugar: A little sugar helps to feed the yeast, enabling it to work its magic. It also gives your bread a beautifully golden crust.
Fat: Olive oil or melted butter can add richness and help tenderize the crumb, ensuring a satisfying bite every time.
By understanding these key ingredients, you’ll be well on your way to baking the perfect loaf of homemade bread.
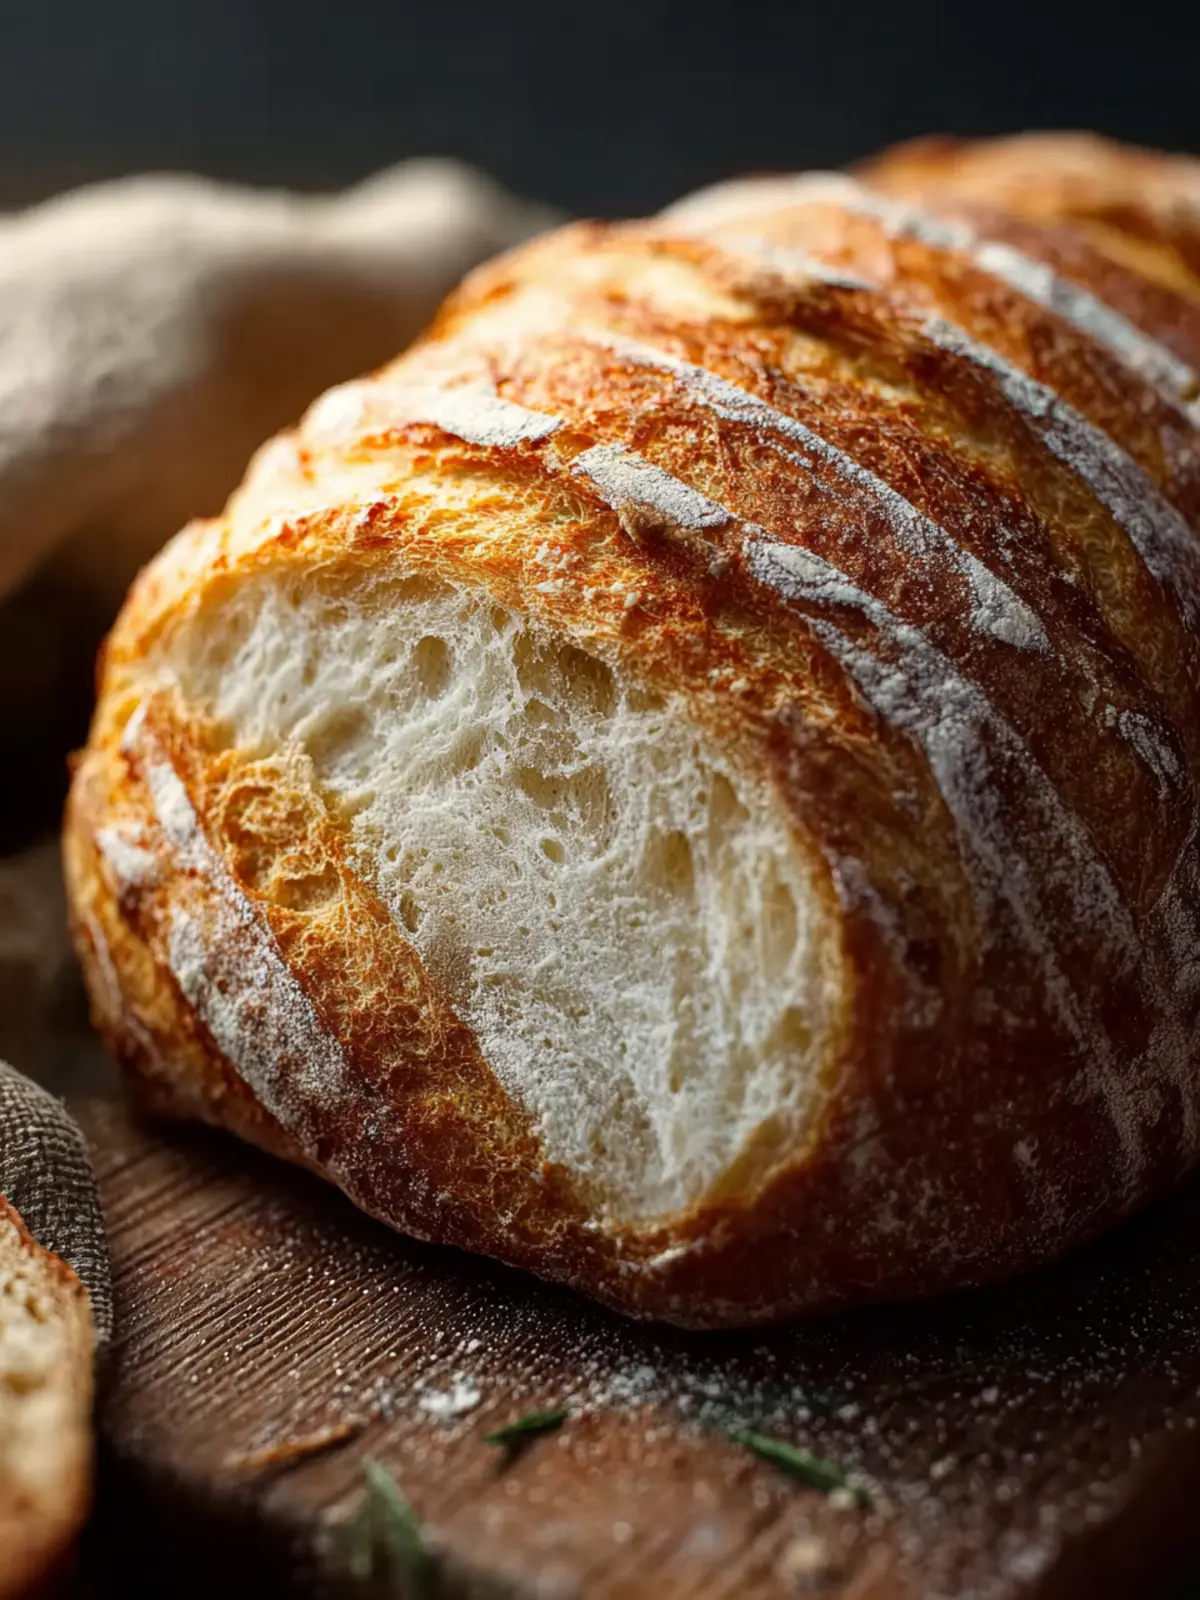
Why You’ll Love This Homemade Bread
The magic of homemade bread begins the moment you combine flour, water, salt, and yeast—ingredients that hold the power to transform your kitchen into a warm, inviting haven. Picture this: it’s a crisp evening, and the aroma of freshly baked bread wafts through your home, creating a sense of comfort and nostalgia that instantly lifts your spirits.
-
Fresh Ingredients Make All the Difference: Using high-quality ingredients like fresh flour and active yeast ensures that your bread rises perfectly, yielding a crusty exterior and a soft, pillowy interior. There’s nothing quite like the satisfaction of pulling a warm loaf from the oven and breaking it apart to reveal that soft, airy crumb.
-
Simple Process, Rewarding Results: The beauty of this homemade bread recipe lies in its simplicity. You don’t need to be a professional baker to achieve amazing results; with just a bit of patience and love, you’ll create something truly wonderful.
-
Perfect for Any Occasion: Whether it complements a cozy dinner or serves as the foundation for delicious sandwiches, this bread suits every occasion. Think about the joy of sharing it with friends or family, or even enjoying a slice with your morning coffee.
Making homemade bread isn’t just about the final product; it’s about the entire experience that brings people together.
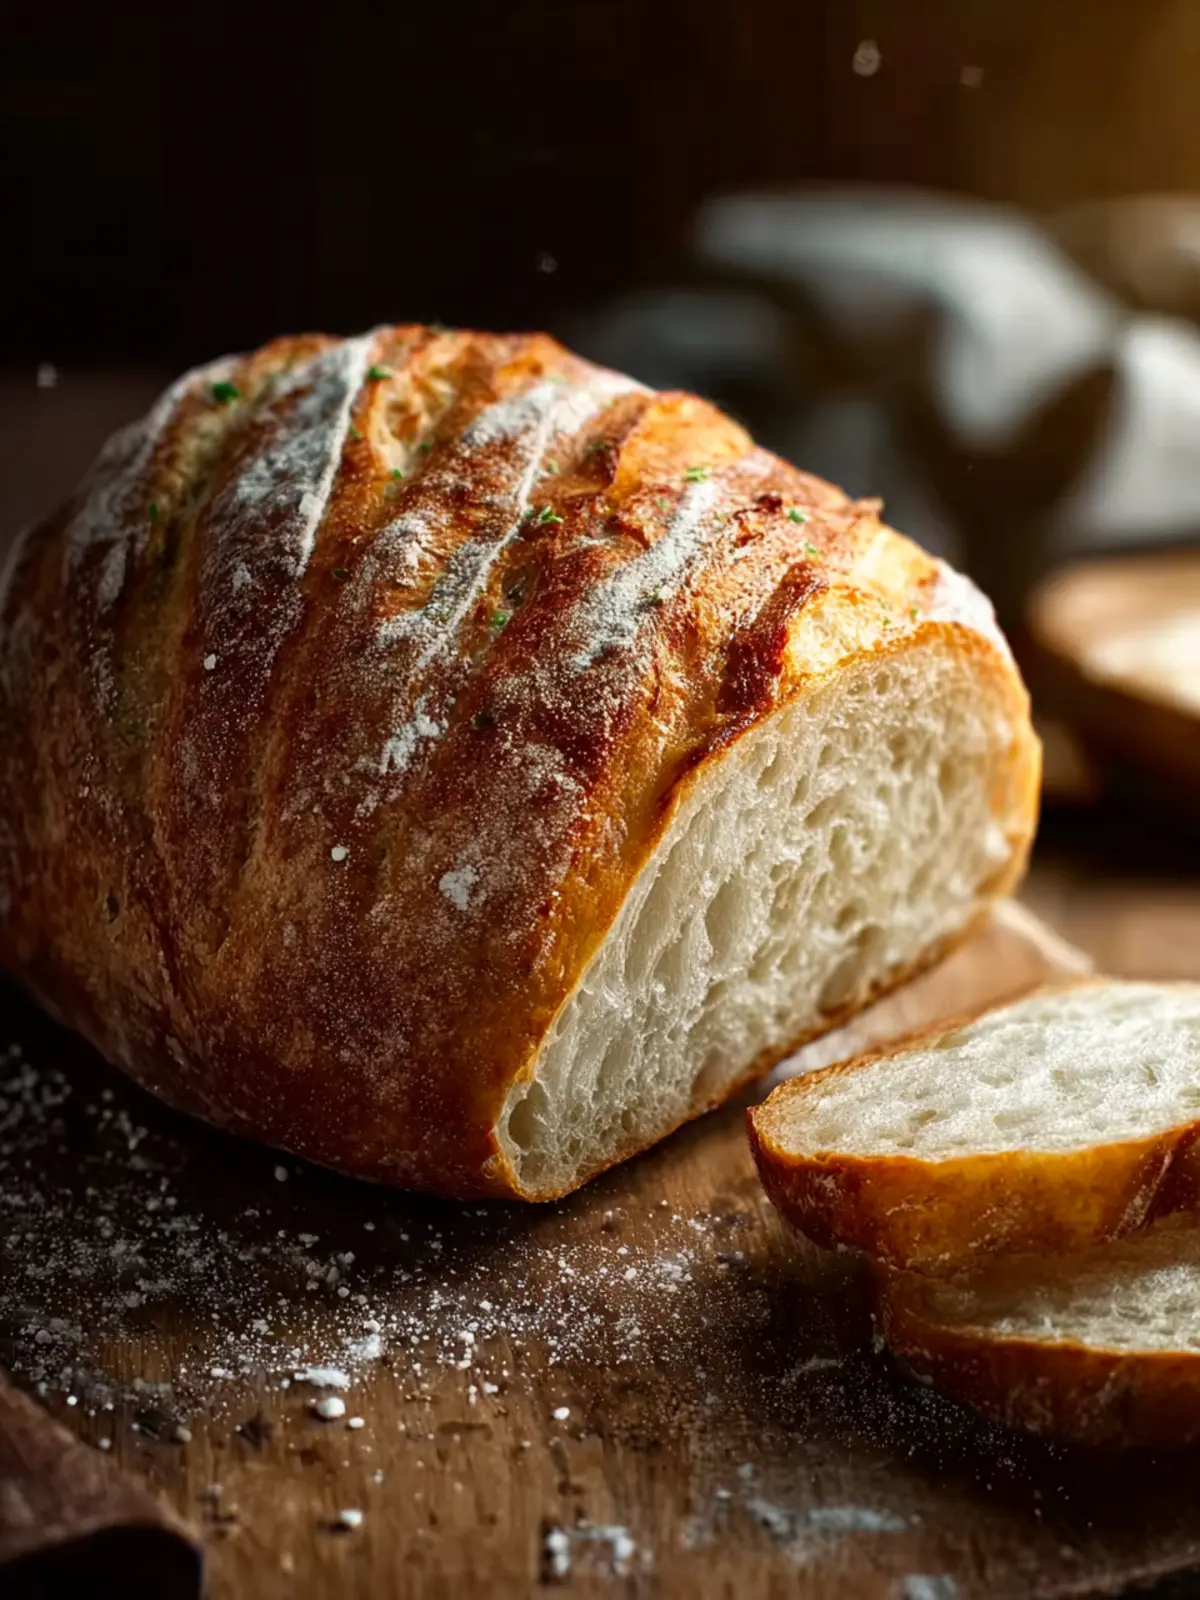
Variations of Homemade Bread
The world of homemade bread is a delightful tapestry woven with flavors, textures, and traditions from around the globe. Experimenting with different variations not only keeps things exciting but also invites you to explore your personal taste and creativity in the kitchen. Here are a few of my favorite variations that can transform your classic loaf into something uniquely satisfying.
Herb and Garlic Focaccia
This Italian classic is a celebration of fragrant herbs and robust garlic. By incorporating rosemary, thyme, or even oregano into your dough, you elevate the flavor profile dramatically. Drizzling olive oil on top before baking adds a delightful richness that makes every bite memorable.
Whole Wheat Bread
For those seeking a heartier option, whole wheat bread offers a nutty flavor and additional health benefits. Substituting half or all of the white flour for whole wheat not only makes the bread more nutritious but also delightful for toast or sandwiches packed with fillings.
Sweet Cinnamon Raisin Bread
Imagine waking up to the aromas of cinnamon wafting through your home—the essence of homemade bread transformed into a sweet indulgence! Adding cinnamon, sugar, and plump raisins to your dough creates a breakfast treat that pairs beautifully with butter or cream cheese.
Seeded Multigrain Bread
If you crave a chewy texture and extra crunch, infuse your dough with a mix of sunflower seeds, flaxseeds, and sesame seeds. This variation is not only visually appealing but also rich in fiber and protein, making it a wholesome choice for any meal.
The joy of homemade bread lies in the boundless options available. Each variation tells a story of its own, inviting you to share in the love of baking. Which one will you try first?
Cooking Tips and Notes for Homemade Bread
Making homemade bread is not just about following a recipe; it’s about the journey of baking. The delightful aroma that fills your kitchen can transform a typical day into something special. Here are some essential tips to enhance your baking experience.
Measuring Ingredients Accurately
Precision is key in baking, especially when it comes to flour. Use a kitchen scale for accuracy, as a cup of flour can vary significantly based on how it’s scooped. Be sure to spoon the flour into your measuring cup and level it off with a knife rather than packing it down.
Kneading Techniques
Proper kneading helps develop gluten, giving your bread its structure. Keep it simple—knead the dough until it’s smooth and elastic. A good test is the “windowpane” method: stretch a small piece of dough until it is translucent. If it tears easily, it needs more kneading!
Let It Rise
Don’t rush the proofing stage! Allow the dough to rise in a warm, draft-free area, covered with a damp cloth. This could take anywhere from one to two hours, depending on the temperature. Patience here rewards you with a lighter loaf.
The Baking Environment
Preheat your oven to ensure a rise and crust formation. For an artisan-style crust, consider placing a pan of water in the oven to create steam—this helps achieve that desired crispy exterior.
By embracing these tips, you’ll elevate your homemade bread game, creating loaves that are not just delicious but a joy to bake!
Serving Suggestions for Homemade Bread
When you’ve crafted a loaf of homemade bread, the enjoyment doesn’t have to end with just a slice. Sharing it with friends and family can make the experience even more delightful. Here are some suggestions to elevate your serving game:
Classic Spread Pairings
- Butter: There’s nothing like spreading warm homemade bread with rich, creamy butter. For a twist, try flavored butters like garlic or herb-infused.
- Cream Cheese: Smooth and slightly tangy, cream cheese pairs perfectly with a light drizzle of honey or jam on top.
Savory Options
- Avocado Toast: Mash up ripe avocado with a dash of salt and pepper, then top your homemade bread for a healthy breakfast or snack.
- Charcuterie Board: Slice your bread into small pieces and serve alongside cured meats, cheeses, and olives for a delightful charcuterie experience.
Sweet Treats
- French Toast: Transform your homemade bread into a delicious breakfast by dipping slices in an egg mixture and frying them until golden brown. Top with maple syrup and fresh berries.
- Bread Pudding: Save any leftover bread for a decadent dessert that’s both comforting and indulgent.
With these serving suggestions, your delicious homemade bread will not only satisfy your cravings but also impress your guests at any gathering!
Time Breakdown for Homemade Bread
Making homemade bread can be a delightful journey filled with anticipation, and knowing the time involved can help you plan your day effectively. Here’s a quick breakdown of how long you’ll be spending on this comforting endeavor:
Preparation Time
The preparation time for this recipe is about 15 minutes. This includes gathering all your ingredients and mixing them together to form a dough that will soon become your delicious bread.
Rising Time
Once your dough is mixed, the rising time is crucial. Give it approximately 1 to 2 hours to rise, depending on the warmth of your kitchen. This step is where the magic happens—watch your dough transform and expand!
Baking Time
When it’s finally ready, the baking time in the oven will only take around 25 to 30 minutes. You’ll want to keep an eye on it to ensure it turns a lovely golden brown.
Total Time
In total, you’re looking at about 1.5 to 2.5 hours from start to finish. With a bit of patience and care, you’ll have delightful homemade bread ready to enjoy!
Nutritional Facts for Homemade Bread
Discover the delightful world of homemade bread, where the aroma fills your kitchen and the taste is unmatched. Understanding its nutritional value can help you make informed choices while enjoying this comforting staple.
Calories
A slice of homemade bread typically contains about 80-100 calories, depending on the ingredients used. This makes it a versatile option for meals or snacks, fitting into various dietary plans.
Protein
One remarkable aspect of homemade bread is its protein content, usually ranging from 3 to 5 grams per slice. Aim for whole grain flours to enhance this macronutrient, supporting muscle repair and overall health.
Carbohydrates
The carbohydrate content in homemade bread is generally around 15-20 grams per slice, making it a great energy source. It’s important to note that choosing whole grains can offer additional fiber, aiding digestion and prolonging satiety.
This homemade bread not only fills your home with warmth but also provides a satisfying nutritional profile for your meals. Give baking a try and enjoy the benefits!
FAQs About Homemade Bread
Making homemade bread can be a delightful yet puzzling experience, often filled with questions that arise during your baking journey. Whether you’re a novice or a seasoned baker, here are some common inquiries to help you navigate the art of bread making.
Why is my bread dense?
A dense loaf often results from not enough gluten development or insufficient yeast activity. Make sure you’re using fresh ingredients and allowing your dough to rise adequately during both proofing stages. Kneading your dough well helps to create the gluten structure necessary for a light texture. If you’ve measured incorrectly or skipped the kneading, your bread may not rise as expected.
Can I substitute whole wheat flour?
Absolutely! Replacing all-purpose flour with whole wheat flour can make your homemade bread healthier. However, since whole wheat flour absorbs more liquid, you may want to increase the amount of water in your recipe by about 1-2 tablespoons to achieve the right consistency.
How do I store homemade bread?
Proper storage is key to keeping your homemade bread fresh. Allow it to cool completely before wrapping it in plastic wrap or placing it in a paper bag. For longer storage, consider slicing the bread and freezing it in an airtight container. This way, you can enjoy fresh slices whenever you want.
What can I do with stale bread?
Don’t throw away stale bread! There are countless ways to repurpose it, including making croutons, bread pudding, or a flavorful stuffing. You can also use stale bread to make breadcrumbs for topping casseroles or coating meats.
How can I tell if my bread is done?
The best indicators are color and sound! A perfectly baked loaf will have a golden-brown crust. Carefully tap the bottom of the loaf; if it sounds hollow, it’s likely done. Using a thermometer, check that the internal temperature reaches about 190°F to 200°F for a well-cooked loaf.
Conclusion on Homemade Bread
Creating homemade bread is more than just following a recipe; it’s about embracing the joy of baking and enjoying the delightful aroma that fills your kitchen. Each loaf tells a story of patience and love, transforming simple ingredients into something extraordinary. Whether you’re trying your hand at basic white bread or experimenting with whole grains, the satisfaction that comes from fresh bread just out of the oven is unparalleled.
So, gather your ingredients, roll up your sleeves, and embark on this delicious journey. Your homemade bread can be the centerpiece of any meal, a snack for the day, or a gift for a friend. Enjoy the process, and happy baking!
Print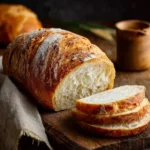
Homemade Bread
- Total Time: 1 hour 50 minutes
- Yield: 2 loaves 1x
- Diet: Vegetarian
Description
A simple recipe for delicious homemade bread that is easy to make and perfect for any occasion.
Ingredients
Scale
- 2 cups warm water (about 110°F)
- 1 tablespoon active dry yeast
- 2 tablespoons granulated sugar
- 1 tablespoon salt
- 2 tablespoons vegetable oil
- 5 ½ to 6 cups all-purpose flour
Instructions
- Activate the Yeast: In a large mixing bowl, combine warm water, sugar, and yeast. Stir gently and let sit for 5–10 minutes until it becomes foamy. This step is magical — watching the yeast awaken and bubble up is always a comforting sight.
- Add the Basics: Stir in the salt, oil, and 3 cups of the flour. Use a wooden spoon or a dough hook on a stand mixer to blend until combined. Gradually add more flour, half a cup at a time, until a soft dough forms that pulls away from the bowl but is still slightly sticky.
- Knead the Dough: Knead the dough for about 7–10 minutes by hand or with a mixer until smooth and elastic. Don’t rush this part — kneading builds structure and gives your bread that lovely, chewy texture.
- First Rise: Place the dough in a lightly oiled bowl, turning it once to coat. Cover with a clean towel or plastic wrap and let rise in a warm place for about 1 to 1 hours, or until doubled in size.
- Shape the Loaves: Punch down the risen dough to release air. Divide it in half and shape into loaves. Place each into a greased 9×5-inch loaf pan.
- Second Rise: Cover the pans and let the dough rise again until doubled, about 30 to 45 minutes. You’ll notice the loaves getting beautifully puffy.
- Bake: Preheat your oven to 350°F (175°C). Bake the loaves for 25–30 minutes, or until golden brown and hollow-sounding when tapped. For a softer crust, brush the tops with melted butter after baking.
- Cool and Slice: Let the loaves cool in the pan for 10 minutes, then transfer to a wire rack to cool completely. Slice and enjoy the reward of your patience.
Notes
- This recipe can be adjusted to include herbs or spices for additional flavor.
- Ensure your water is warm but not hot to avoid killing the yeast.
- Prep Time: 20 minutes
- Cook Time: 30 minutes
- Category: Breads
- Method: Baking
- Cuisine: American
Nutrition
- Serving Size: 1 slice
- Calories: 150
- Sugar: 1g
- Sodium: 200mg
- Fat: 3g
- Saturated Fat: 0.5g
- Unsaturated Fat: 2g
- Trans Fat: 0g
- Carbohydrates: 28g
- Fiber: 1g
- Protein: 4g
- Cholesterol: 0mg